Office Lighting Design Guide
Upgrade Your Office with LED Lighting
Office lighting design involves more complexity than simply providing illumination. Properly designed lighting can support visual comfort, task visibility, and safe movement throughout the workplace.
When you utilize LEDs with a well-planned approach, effective lighting can also help lower a building’s operating expenses. This guide covers essential principles for creating comfortable, efficient office lighting environments.

LED Office Lighting Fundamentals
The following principles can help guide an office lighting design that supports energy efficiency, visual comfort, and the lighting needs of the space.
Determining Proper Light Levels
Light levels form the foundation of any lighting plan. These levels are measured in foot-candles rather than lumens, because foot-candles represent the amount of light that reaches a surface.
Lumens indicate the light output from a lamp or luminaire. A foot-candle equals one lumen per square foot of surface area.
Our free photometric lighting plans can help estimate light levels for your specific space and evaluate illumination distribution using fixture-specific photometric data.

Achieving Light Uniformity
Even light distribution across an office can help reduce noticeable bright and dark areas. This consistency is commonly evaluated using uniformity ratios.
Uniformity is often expressed as the ratio of minimum illuminance to average illuminance, although the appropriate calculation method and target depend on the task, applicable design criteria, room layout, and project requirements.
Rather than relying on a universal office uniformity ratio, evaluate the work plane, circulation areas, vertical surfaces, task locations, daylight contribution, and fixture photometric distribution. A photometric plan can identify whether the selected layout provides suitable light levels and distribution for the intended use.
Controlling Glare in Office Environments
Glare reduction is an important part of office lighting design. Poor glare control can contribute to visual discomfort, eye fatigue, and awkward viewing postures.
In offices where employees regularly view computer screens, fixture placement, window placement, surface reflectance, and monitor orientation all affect visual comfort.
Understanding Glare Sources
Glare can result from bright light sources or excessive brightness contrasts within a person’s field of vision. Common sources include windows, reflections on computer screens, glossy materials, and poorly positioned lighting fixtures.
Office workers may experience direct glare from visible bright sources and reflected glare from light sources or windows appearing in computer screens and other reflective surfaces.
Reflected Glare and Computer Screens
Computer screens can reflect luminaires, windows, and other bright surfaces. These reflections may reduce screen contrast and cause visual discomfort.
To help control reflected glare, coordinate luminaire location and distribution with monitor placement, screen tilt, task orientation, window shading, and surface finishes. Luminance limits for luminaires in critical viewing angles may be specified by a project standard or screen-use guidance, but there is no single universal luminance limit for every office and display type. Verify the applicable criteria using the selected luminaire photometry and the intended workstation layout.
Direct Glare and Unified Glare Rating (UGR)
Direct glare can impair visual comfort and cause occupants to avoid looking toward a bright source. The Unified Glare Rating (UGR) is a method used to evaluate discomfort glare from an electric lighting installation for a defined observer position and viewing direction.
UGR considers the luminance, size, position, and background contrast of electric luminaires within the observer’s field of view. It does not evaluate daylight or sunlight glare through windows. Window glare should be addressed separately through daylighting design, shading, glazing, workstation placement, and screen orientation.
Lower UGR values generally indicate lower predicted discomfort glare. Project criteria vary by task and applicable standard; many office lighting specifications use UGR 19 or lower for work involving reading, writing, and computer use. Corridors, break rooms, and other lower-demand spaces may permit higher values depending on the project requirements.
Illuminating Ceilings and Walls
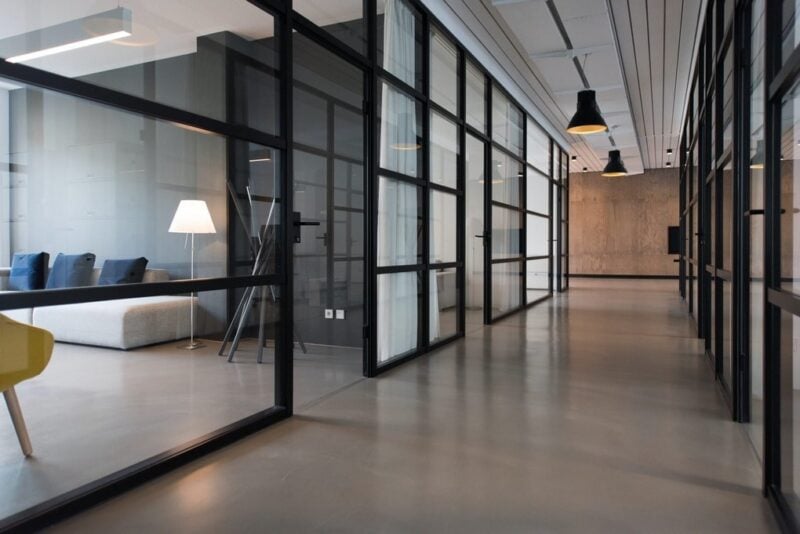
The brightness of surrounding surfaces – including walls, ceilings, and floors – can significantly affect visual comfort in office environments.
Appropriate vertical and ceiling illumination depends on the room’s reflectances, daylight, task needs, desired appearance, and applicable design criteria. Illuminating walls and ceilings can make an office feel brighter and more visually balanced, but the required levels should be established through the lighting design rather than a single universal foot-candle target.
Linear LED pendant fixtures are commonly used to provide direct light to work areas and indirect light to ceilings or upper walls in modern office designs.
Planning for Different Lighting Zones
Modern offices require different lighting levels for distinct areas and tasks. Computer-intensive work areas need different considerations than meeting rooms, circulation areas, or break areas.
Layered and zone-based lighting design allows illumination to be tailored to specific use requirements while potentially reducing energy consumption. A professional photometric lighting plan accounts for fixture distribution, mounting height, reflectances, furniture layout, daylight, and task locations.
Calculating Office Lighting Requirements
Important Note: The following calculation methods provide estimates for planning purposes. For critical applications, detailed photometric analysis and review by the responsible design professional may be needed.
The Lumen Method
The lumen method estimates average illuminance on a work plane. Because not all lumens produced by a luminaire reach the work surface, the calculation should account for the number of luminaires, coefficient of utilization, and light loss factor.
Basic formula: E = (N × Lu × CU × LLF) ÷ A
- E = Average illuminance in foot-candles
- N = Number of luminaires
- Lu = Initial lumens per luminaire
- CU = Coefficient of Utilization
- LLF = Light Loss Factor
- A = Area in square feet
This method estimates average illuminance and does not show point-by-point light levels, glare, or distribution. Use fixture-specific IES photometric files and a photometric layout to evaluate those factors.
Recommended Illuminance Standards
The Illuminating Engineering Society (IES) publishes lighting recommendations and design guidance for many applications, including office tasks.
Office lighting calculations commonly evaluate a horizontal work plane near desktop height, often about 2.5 feet above the floor. The appropriate work-plane height and illuminance target should match the actual task, furniture, equipment, and applicable project criteria.
Understanding Coefficients of Utilization
The Coefficient of Utilization (CU) represents the proportion of luminaire light output that reaches the designated work plane under defined room conditions. It accounts for direct light and reflected light from room surfaces.
Several factors affect CU values:
- Fixture characteristics: Light distribution pattern, mounting arrangement, and optical efficiency
- Surface reflectance: More reflective walls and ceilings can increase useful light delivery
- Mounting height: The distance between the luminaires and work plane affects distribution and room-cavity conditions
- Room size and proportions: Room geometry, wall spacing, and ceiling height affect light distribution and reflected light
- Obstructions: Furniture, partitions, shelving, and architectural features can affect delivered light at task areas
Accounting for Light Loss Factors
Lighting systems lose output over time due to factors such as lumen depreciation, dirt accumulation, temperature conditions, and component performance. LED fixtures can maintain useful light output longer than many traditional technologies, but LED output still declines gradually over time.
The Light Loss Factor (LLF) accounts for expected reductions in maintained illuminance. It can include recoverable losses, such as dirt accumulation that cleaning can address, and non-recoverable losses, such as normal lumen depreciation.
Establish initial light levels with the selected LLF and the project’s maintained-illuminance criteria in mind.
Next Steps for Your Office Lighting Project
Ready to upgrade your office lighting? Consider these professional resources:
- Request a free photometric lighting plan for your specific space
- Explore our office lighting fixture selection
- Contact our lighting specialists for technical support and product recommendations
Disclaimer: Lighting calculations and recommendations in this guide are for planning purposes. Local building codes, safety requirements, project criteria, and specific applications may require different specifications. Consult qualified lighting and electrical professionals for code compliance and final design decisions.