LED vs Fluorescent Office Lighting
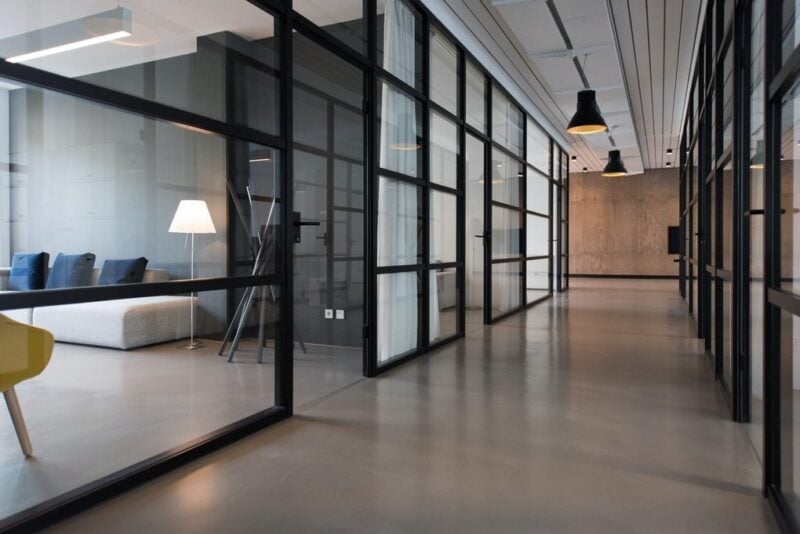
What’s the Best Lighting for an Office Environment?Office lighting requires...
Learn More →Get expert guidance from our Product Specialists who match the right solutions to your project's requirements.

Office lighting design involves more complexity than simply providing illumination. Properly designed lighting delivers visual comfort, enhances worker performance, and helps keep employees safe.
When you utilize LEDs with a well-planned approach, effective lighting can also lower a building’s operating expenses. This guide covers the essential principles for creating superior office lighting environments.

The following principles will help you design office lighting that exceeds standard requirements while maximizing energy efficiency and worker comfort.
Light levels form the foundation of any lighting plan. These levels are measured in foot-candles rather than lumens, because foot-candles represent the amount of light that actually reaches a work surface.
Lumens indicate the light output from the fixture itself. A foot-candle equals one lumen per square foot of surface area.
Our free photometric lighting plans help determine optimal light levels for your specific space and show you how to achieve balanced, even illumination throughout the area.

Even light distribution across your office space prevents uncomfortable bright and dark spots. This consistency is measured using uniformity ratios.
Uniformity represents the ratio of minimum lighting levels in an area compared to the average lighting level in that same space. It shows how evenly light is distributed.
For office environments, target a uniformity ratio of at least 0.60. This minimum level prevents employees from noticing uncomfortable lighting variations. Increasing this ratio to 0.65 significantly improves uniformity and benefits people with vision challenges.
Glare reduction is critical in office lighting design. Poor glare control can cause headaches, eye fatigue, and neck and shoulder pain.
In office environments where employees work eight-hour days under artificial lighting while viewing computer screens, glare control becomes especially important for preventing serious vision problems.
Glare results from bright light sources or excessive brightness contrasts within a person’s field of vision. Common sources include reflective surfaces around windows, computer screens, glossy materials, or poorly designed lighting installations.
Two types of glare affect office workers: direct glare and indirect glare.
Computer screens create indirect glare due to their bright, reflective surfaces. This reflection can cause eye irritation and vision problems.
To prevent computer screen glare, lighting fixtures pointing downward should not exceed these luminance thresholds:
Direct glare actively impairs vision and causes people to turn away or shield their eyes. The Unified Glare Rating (UGR) system measures this type of glare.
UGR evaluates glare from sunlight through windows, light fixtures, and other bright sources. It predicts the visual discomfort a light fixture will cause to people within its view.
UGR values range from 5 to 40, with 5 representing minimal glare and 40 representing maximum glare. For office lighting, follow these guidelines:
The brightness of surrounding surfaces-including walls, ceilings, and floors-significantly impacts visual comfort in office environments.
For optimal office lighting, target these illuminance values:
Higher illuminance levels on ceilings and walls generally increase occupant comfort. Linear LED pendant fixtures have become increasingly popular for achieving these lighting goals in modern office designs.
Modern offices require different lighting levels for distinct areas and tasks. Computer-intensive work areas need different considerations than meeting rooms or break areas.
Non-uniform lighting design allows you to customize illumination based on specific usage requirements while reducing energy consumption. A professional photometric lighting plan accounts for all these variables, though you can estimate requirements using the methods below.
Important Note: The following calculation methods provide estimates for planning purposes. For critical applications or code compliance, consult with a lighting professional or engineer.
The lumen method calculates average illumination levels using the foot-candle definition: one lumen per square foot with uniformly distributed light flux.
Basic formula: E = Lu ÷ A
This calculation requires accounting for light losses, since not all lumens from the fixture reach the work surface. The Coefficient of Utilization (CU) represents the ratio of useful lumens reaching the work plane compared to total lumens produced by the lamp.
The Illuminating Engineering Society (IES) provides standardized recommendations for office lighting levels.
Most calculations assume a horizontal work plane approximately 2.5 feet above the floor (standard desktop height). Start with uniform lighting calculations, then adjust for specific task requirements and obstructions.
The Coefficient of Utilization (CU) represents the percentage of fixture lumens that actually reach the work surface, including both direct light and reflected light from room surfaces.
Several factors affect CU values:
All lighting systems lose output over time, beginning immediately after installation. LED fixtures maintain consistent lumen output longer than traditional technologies, but still experience a gradual decline.
The Light Loss Factor (LLF) accounts for this reduction by comparing minimum acceptable light levels to initial installation levels. This factor includes both recoverable losses (such as dirt accumulation that cleaning can address) and non-recoverable losses (such as normal LED degradation over time).
Plan initial illumination levels above minimum requirements to account for expected light loss over the fixture’s operational life.
Ready to upgrade your office lighting? Consider these professional resources:
Disclaimer: Lighting calculations and recommendations in this guide are for planning purposes. Local building codes, safety requirements, and specific applications may require different specifications. Consult with qualified lighting professionals for code compliance and optimal results.

Cory Peterson is Vice President of Marketing & Sales Operations at LED Lighting Supply where he focuses on improving customer experience and revenue operations. Cory writes about commercial & industrial lighting, along with topics important to contractors and facility managers. In his free time, Cory enjoys traveling, snorkeling, exercise and cooking.